My Profile
Manage your personal information in your profile.
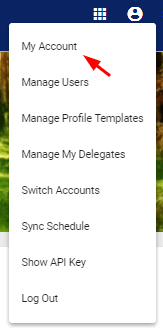
To edit your profile, click on the  Account Settings icon in the upper right corner of the screen. Choose the
  option.
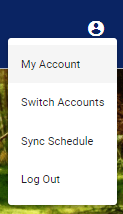
This action will take you to the My Account pop-up page.

Under Basic Information, the user can edit their name and last name, title, and alternate email address.
Under Extended Information, the user can edit their birthday, home, office, and mobile phone numbers, as well as their pager.
Under Employment Information, the user can view their start and stop date (when applicable), and whether they are active. They may not edit those fields.
Under Password Information, the user can change their password by clicking on the  button.
Under Settings, the user may change how the system displays information.
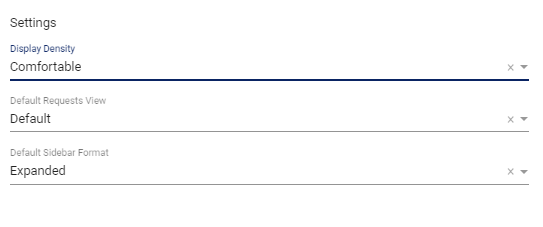
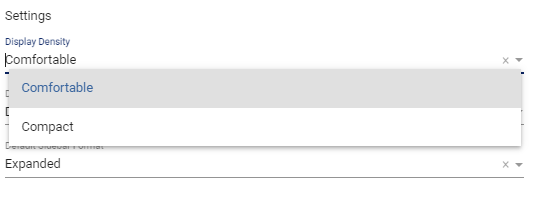
To change the display’s density, click on the Display Density drop-down menu and choose one of the options. The Display Density determines how the schedules appear. You can also change the view for a specific schedule you have open through the Layout Options. See Layout and Filtering Schedules for details.
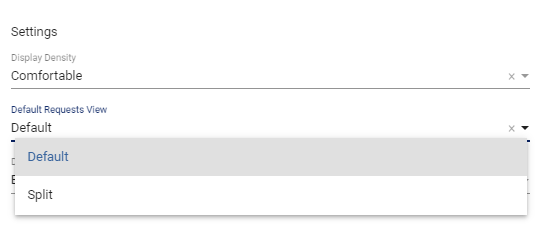
To change how the system displays the request schedules, click on the Default Requests View drop-down menu and choose an option. The default view for administrators (i.e. someone who can approve requests) is a list of requests. The default view for someone with only access to enter requests is the calendar view.
To change how the left side menu is displayed, choose an option from the Default Sidebar Format drop-down menu.
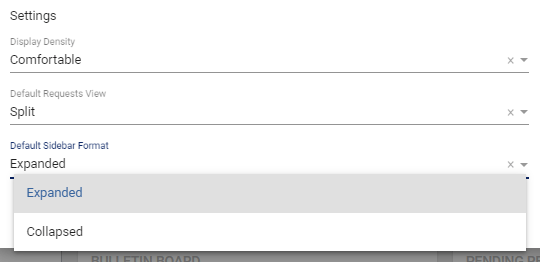
The Expanded option is system’s default view, this displays the left sidebar menu in full.
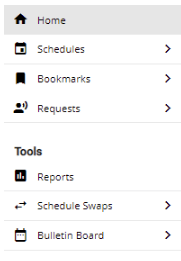
If the Collapsed option is chosen, the sidebar will be condensed, displaying only icons. You can hover over the icon to see what each icon represents.

To opt out of seeing a “Show in New Tab” alert when opening new schedules, the user must navigate to  Account Settings in the upper right corner of the screen and choose the My Account option.
This will open a pop-up window where you can edit your information. Scroll down to Settings.
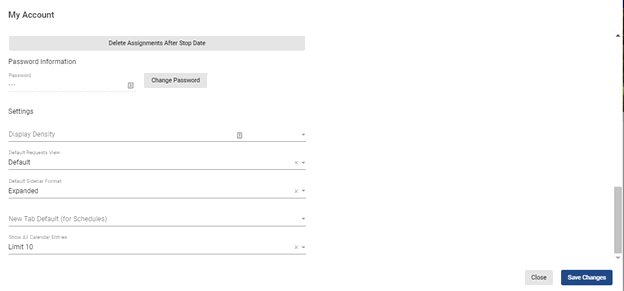
Click on New Tab Default and choose one of the options available from the drop-down menu.
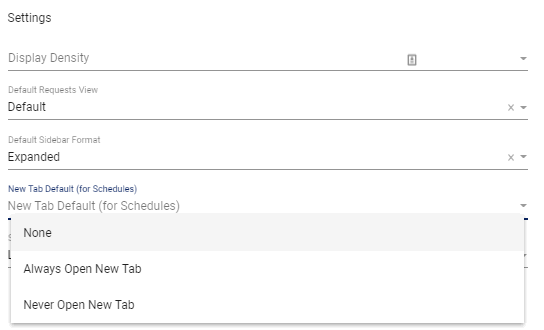
Once you’re done, click on the  button.
On a request calendar, you have the option to view all entries on a given day as opposed to a limit of 10. To edit this option in your profile, navigate to  Account Settings in the upper right corner of the screen and choose the My Account option.
This will open a pop-up window where you can edit your information. Scroll down to Settings.
Under Show All Calendar Entries, you can change how request calendars can display all requests for any given day by choosing the Show All option.

Once you’re done, click on the  button.
Video Tutorial: My Account Basics
How do I edit my information, change my password, and update default settings in Physician Scheduling: A short video of My Account