Editing Grid Schedules
In the Physician Scheduling main menu, click on the  Schedules option. Choose a schedule from the list to open it.
If a user has View & Assign access to a schedule, they can make edits on the schedule. See Editing User Access for information on editing a user's access.
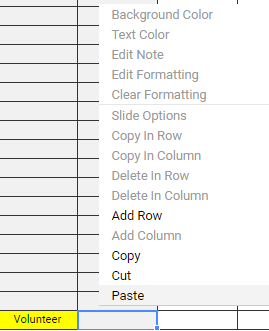
To edit a particular cell or add rows to a schedule displayed as a grid, right-click on the cell you would like to edit.
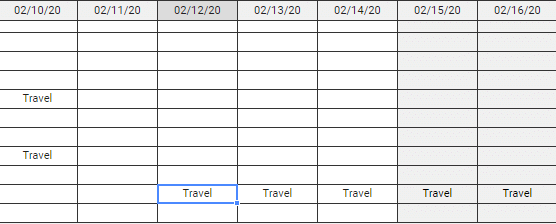
This action will prompt a list of options ranging from Background Color to Add Column. Click on the desired option.
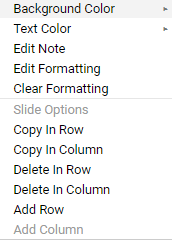
Clicking on Background Color will prompt a list of available colors.
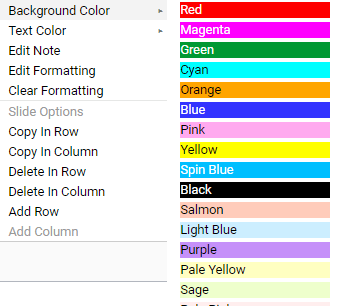
Once a color is chosen, the cell will be updated accordingly.
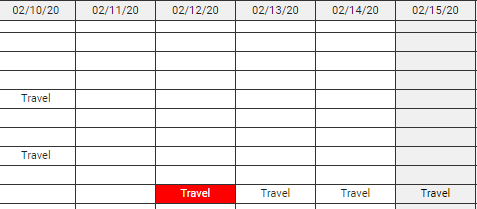
Clicking on Text Color will prompt a list of available text color options.
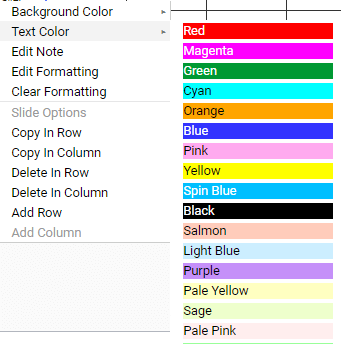
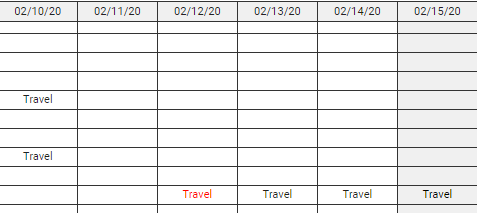
Once a color is chosen, the text will be updated accordingly.
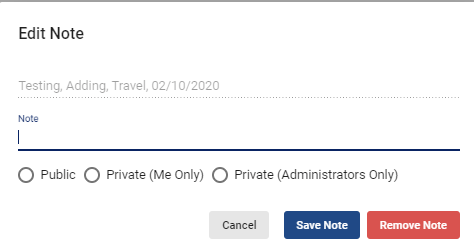
Clicking on Edit Note will prompt a pop-up Edit Note box where the user may add a customized note and choose to make it visible to all users by checking the  Public option, make it visible only to the user by checking the
  Private (Me Only) option, or make it visible to the administrators by checking the
  Private (Administrators Only) option.
Once you’re done, click on the  button.
Clicking on Edit Formatting will prompt an Edit Formatting pop-up box.
You may add text under Note and choose whether it should be made visible to all by checking the  Public option, visible only to the user by checking the
  Private (Me Only) option, or visible to administrators by checking the
  Private (Administrators Only) option.
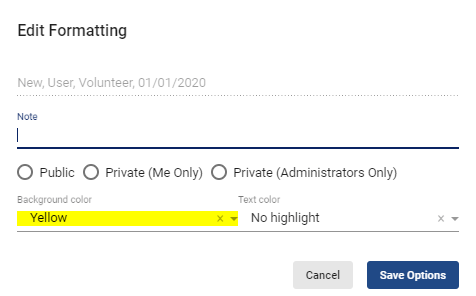
You may also choose which color the cell’s background should be by picking an option from the Background color drop-down menu.
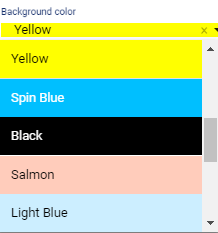
Or choose which color the cell’s text should be by picking an option from the Text color drop-down menu.
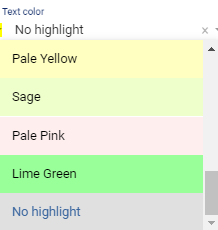
Click on the  button when done.
Clicking on Clear Formatting will delete previous changes made to the cell.
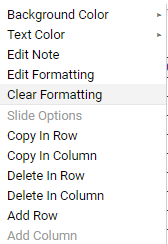
Clicking on Copy In Row will prompt a Copy assignment for date range pop-up box where the user can copy the assignment under the same user and for an extended period.
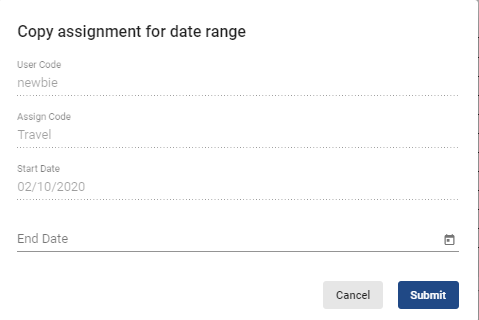
Clicking on the  button will save the schedule change, which will prompt the added assignments on the grid schedule.
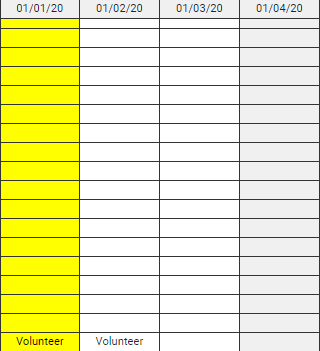
Clicking on Copying In Column will prompt a pop-up Copy assignment for all users on schedule box, which allows the user to copy the assignment and paste it under all users listed in the schedule.
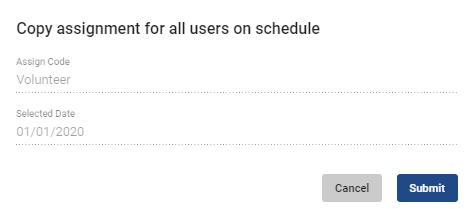
Clicking on the  button will save the schedule change, which will prompt the added assignments on the grid schedules.
Clicking on Delete In Row will prompt a Delete assignment for date range pop-up box where the user can delete a scheduled assignment.
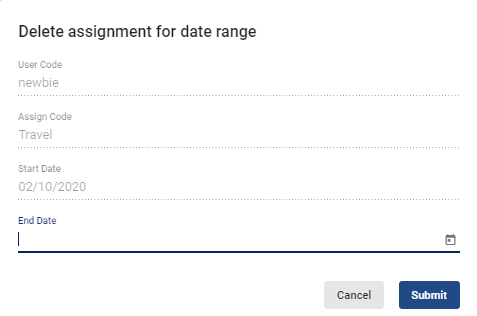
Clicking on the  button will save the schedule change. Physician Scheduling will then display the removed assignments.
Clicking on Delete In Column will prompt a Delete assignment for all users on schedule pop-up box where the user can delete an assignment for all users listed in the schedule.
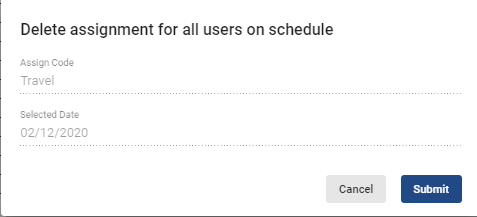
Clicking on the  button will save the schedule change. Physician Scheduling will then display the removed assignments.
Clicking on Add Row will add a row below.
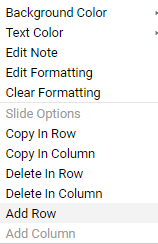
Clicking on Copy will copy that particular assignment. You may also navigate around the grid by using your keyboard arrows and clicking CTRL + C. to Copy.
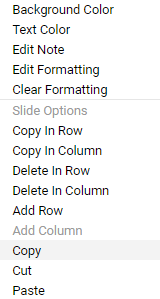
Once the system has copied the assignment, a pop-up warning will appear. You must acknowledge it to move on.

To paste the copied assignment under a different user or date, right-click on the cell you would like to populate with the copied item and click on Paste. You may also navigate around the grid by using your keyboard arrows and clicking CTRL + V. to Paste.
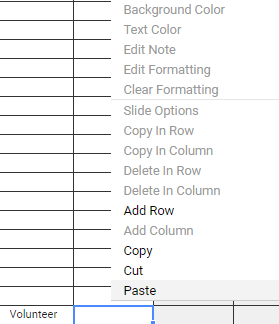
Once the system pasted the assignment, a pop-up warning will appear. You must acknowledge it to move on.

To remove an assignment from a cell and paste it elsewhere, right-click on the assignment in question then choose the Cut option. You may also navigate around the grid by using your keyboard arrows and clicking CTRL + X. to Cut.
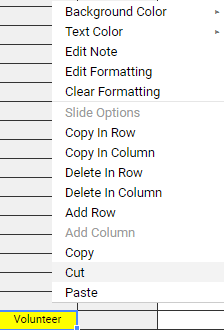
The system will let you know when the assignment was removed and is ready to be pasted in a different cell. The system will alert you with a pop-up message.

Right-click on the cell of your choosing then choose the Paste option to have the removed assignment repositioned. You may also navigate around the grid by using your keyboard arrows and clicking CTRL + V. to Paste.
Once the change is completed, the system will alert you with a pop-up message.

To view the logs relating to a particular assignment, choose one of the following options: View Assign History, View Request History, View Swap History, or View BB (Bulletin Board) History.
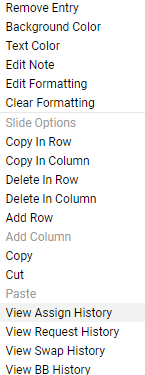
Clicking in any of these options will open an additional window where a list of logs matching the assignment, date, and user data will be displayed.
Video Tutorial: Schedule Right Click Options
How do I edit schedule attributes in Physician Scheduling: A short video of schedule right click options
Video Tutorial: Copy in Row or Column
How do I use the copy in row or copy in column function in Physician Scheduling: A short video of copy in row and copy in column