FAQs
See below for frequently asked questions.
Click on the  Account Settings icon in the upper right corner of the screen. Choose the
  option. This action will take you to the My Account pop-up page.
Under Password Information, click on the  button. Follow the onscreen instructions to change your password.
On Physician Scheduling home page, click on the  Account Settings icon and select Sync Schedule.
In Step One, select the schedule name you’d like to sync. In Step Two, select the dates before today’s date you’d like included in the sync. In Step Three, select the dates after today you’d like to sync. Once these fields are set, click  in Step Four. You will then receive an ICS file under the Results header. Highlight and copy the ICS file that is generated.
Once you have copied the ICS file, open your personal calendar. Paste the ICS file into the URL prompt provided by your personal calendar and click  . The assignments you are assigned to on the schedule will be visible on your personal device calendar.
If you cannot see your assignments on your personal calendar, please confirm the following information:
- Confirm you are connected to mobile data or WiFi. The syncing tool requires internet connection to update the ICS file. If you are not connected to WiFi or mobile data, please connect and wait 90 minutes for your schedule to update accordingly.
- Open the schedule you are synced to in Physician Scheduling, confirm the assignments you are assigned to are visible. If assignments are not visible, please contact your administrator regarding your inability to view the assignments on the schedule.
- Highlight and copy the ICS file you used to sync. Once copied, paste the ICS file into the URL section of your browser. You should receive a prompt to download the ICS file. If you do not receive the prompt, and instead receive a page like the screenshot below, please contact symplr Tech Support for assistance:

To edit assignments, click on the  Schedules option in the Physician Scheduling main menu. Choose the schedule where you will find the assignment you want to edit.
On the grid, click on the assignment, this will prompt a pop-up Edit box, where you can edit the assignment’s details.
For more information on how to edit schedules, view Editing Grid Schedules.
Contact your administrator regarding your inability to view assignments. The publish date may need to be adjusted on the schedule.
Review the clinician’s profile and confirm he/she has either “View All” or “View Mine Only” access to the schedule. To check the user’s access, see Editing User Access.
If the clinician has access, check the publish date on the schedule. The publish date may be blocking clinicians from viewing assignments on the schedule. To adjust the publish date, see Changing Publish Schedule Dates.
To make changes to one single schedule cell quickly without making changes to the whole schedule, use Schedules’ fast mode option.
After choosing a schedule from the  Schedules option under Home in the Physician Scheduling main page sidebar, choose the Fast Mode option from the Actions drop-down menu.
For detailed information on this option, visit Enabling Fast Mode for a step-by-step guide.
Review the schedule within Physician Scheduling and confirm you can see the assignments for that date within Physician Scheduling.
- If you cannot view the assignments, please contact your administrator.
Did you receive an error message when you attempted to submit a request? If so, please review the language on the error message.
- Request outside of available period – You are attempting to submit a request that is outside the designated request period. Please contact your administrator.
- There is a conflict with existing assignment – You are already assigned to a conflicting assignment on the date requested. Please contact your administrator.
Are you unable to view the selection under the requests option or unable to see the request option at all?
- Please contact your administrator to ensure you have access to Make Requests.
Check the  Keep me Logged In option in the login page. This will prevent Physician Scheduling from logging you out due to inactivity.

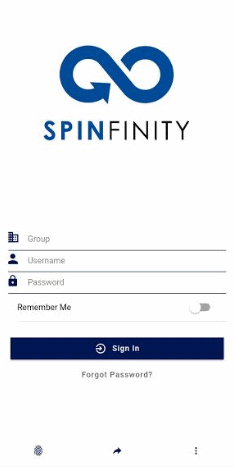
To ensure the system remembers your group and username next time you visit the Physician Scheduling login page, check the  Remember Me option.
The system will never save your password.

Users can ensure team members can only make scheduling requests within a preset time frame by setting up an open period.
When a member of a team wants to make a particular request with an open period, they will have to observe the time frame before completing their application. For instance, if the open period for vacation requests is set from 11/25/2017 through 12/31/2020, the user will not be able to request vacation time before 11/25/2017 or after 12/31/2020.
“Published through” simply means the date in which users with View access to the schedule will be able to see assignments on the schedule.
To update the publish date (i.e. when non-administrators can view assignments on a specific schedule) go to Schedule Publish + Lockout.
When going over the tutorial’s Tour Schedules option, the tour won’t load if the sidebar is collapsed. To fix this problem, navigate to the upper left corner of the screen and hit the  Expand Sidebar icon.
Then, navigate back to the tutorial and hit Tour Schedules.
For Android Devices
Android users can download the SpinFinity app using Google’s Play Store.
Search for the SpinFinity app on Play Store and tap Install.
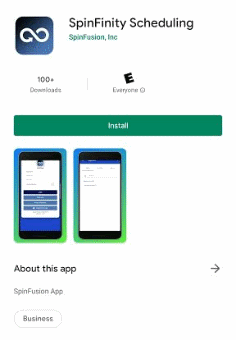
Once the download is complete, Play Store will offer you the option to open the app.
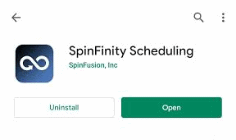
Tap Open to access SpinFinity on your phone using your credentials.
For Apple Devices
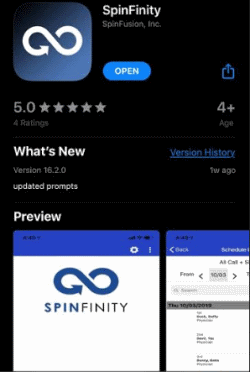
Apple device users can download the SpinFinity app using the App Store.
From the Home screen, select App Store. Scroll down and tap Search to search for the SpinFinity app.
Tap on Get to download the app. If you had the app installed on another device, tap the  icon to initiate the download.
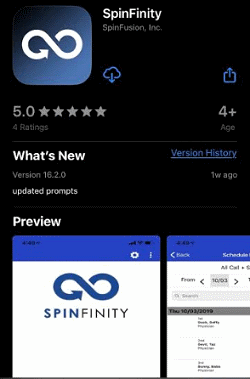
When prompted, enter your Apple ID password or scan your Touch ID fingerprint to prompt the app to download.
Open the app.
